School of Motion C4D Basecamp / Summary
My experience ..
My experience ..
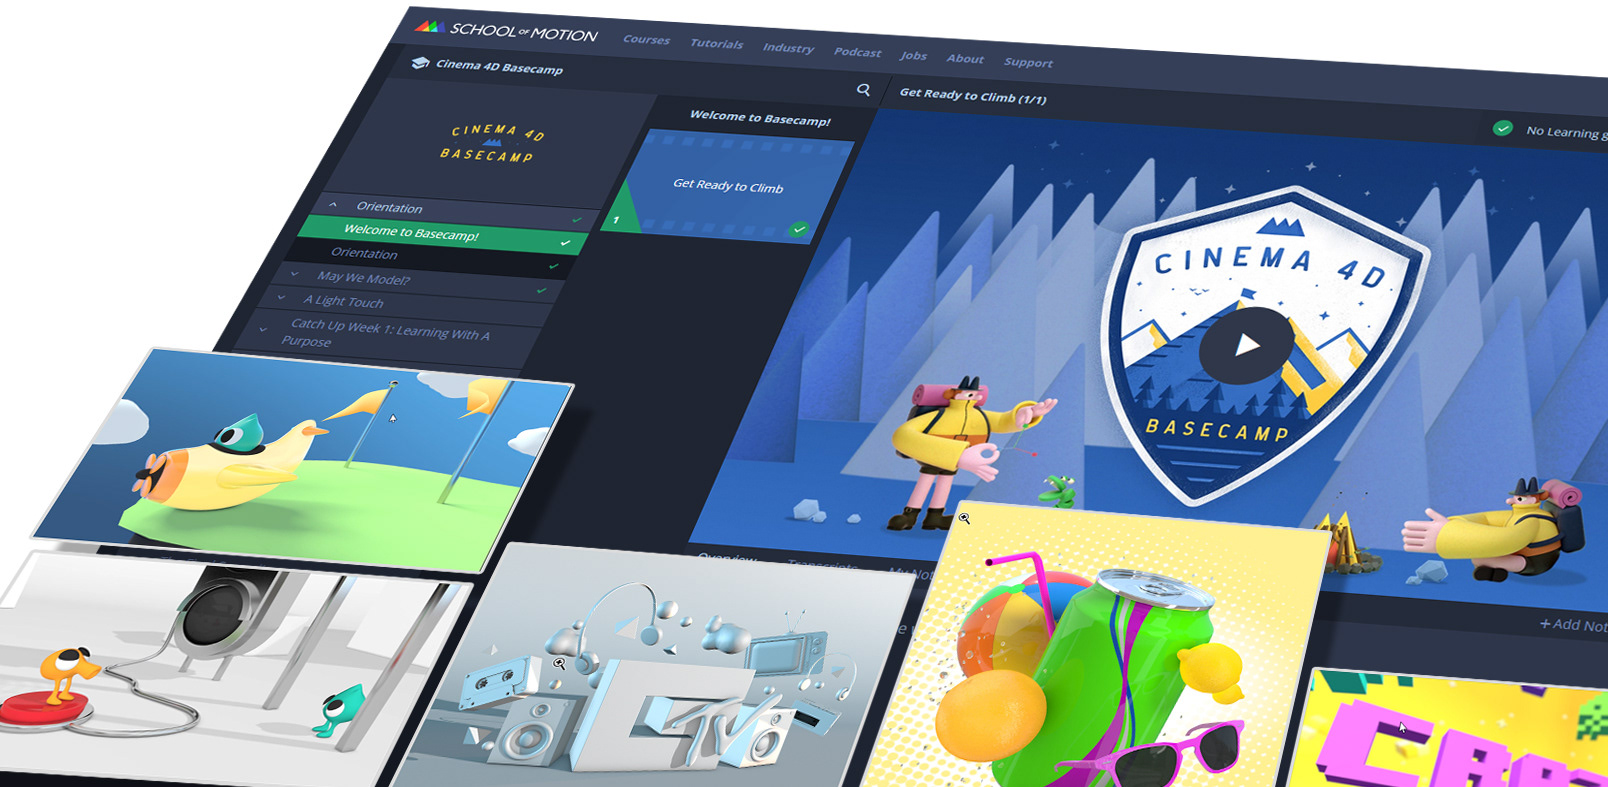
This season, I had a chance to enroll in a SoM C4D Basecamp (SoM online course taught by EJ Hassenfratz),
so - just thought I´d share ´my journey´ .. in this little summary.
About the course & my background:
The course (6-week of pretty intensive training + a few more weeks for feedback / critique / catching up etc.) is ment for beginners - with little to none previous C4D experience.
I already had some previous C4D experience, though ..
I´d been using Cinema4D for some time already, before the course started (with a huge help of Cineversity, Greyscalegorilla and also EJ´s tutorials .. and many other learning resources randomly found online) -
but - as a self-learner only - I kind of felt I was still lacking the very fundamentals ..
or I should rather say - I was not even sure what I was missing ..
but - as a self-learner only - I kind of felt I was still lacking the very fundamentals ..
or I should rather say - I was not even sure what I was missing ..
So - as I wanted to finally find out, and fill in the gaps -
after some time of hesitation (whether or not this course could be a good fit for me),
I finally decided to give it a try ..
And I am glad for that decision, in the end.
It´s been a great experience.
Quite a lot of things were covered in the course .. Some pretty thoroughly, some just briefly mentioned, only scratching the surface (just as a guidance for us to dig deeper on our own, if we wanted to), many C4D workflows were skipped altogether, so as to keep the course at the beginners´ level .. but it still was packed with a lot of info and some nice practical tips ..
And even though I already knew a lot of what´d been taught in the course,
I still learnt a lot.
And enjoyed every single EJ´s lesson.
..
I could not finish all my assignments, as I ran out of my ´learning time´ (I had to get back to ´real´ work again, for the very end of the year) - and also - I wish I could have some more time for my final project ..
But still enjoyed every single one ..
Orientation week / My Favorite Place
Not much was happening during the first orientation week - but at least we got our first homework.
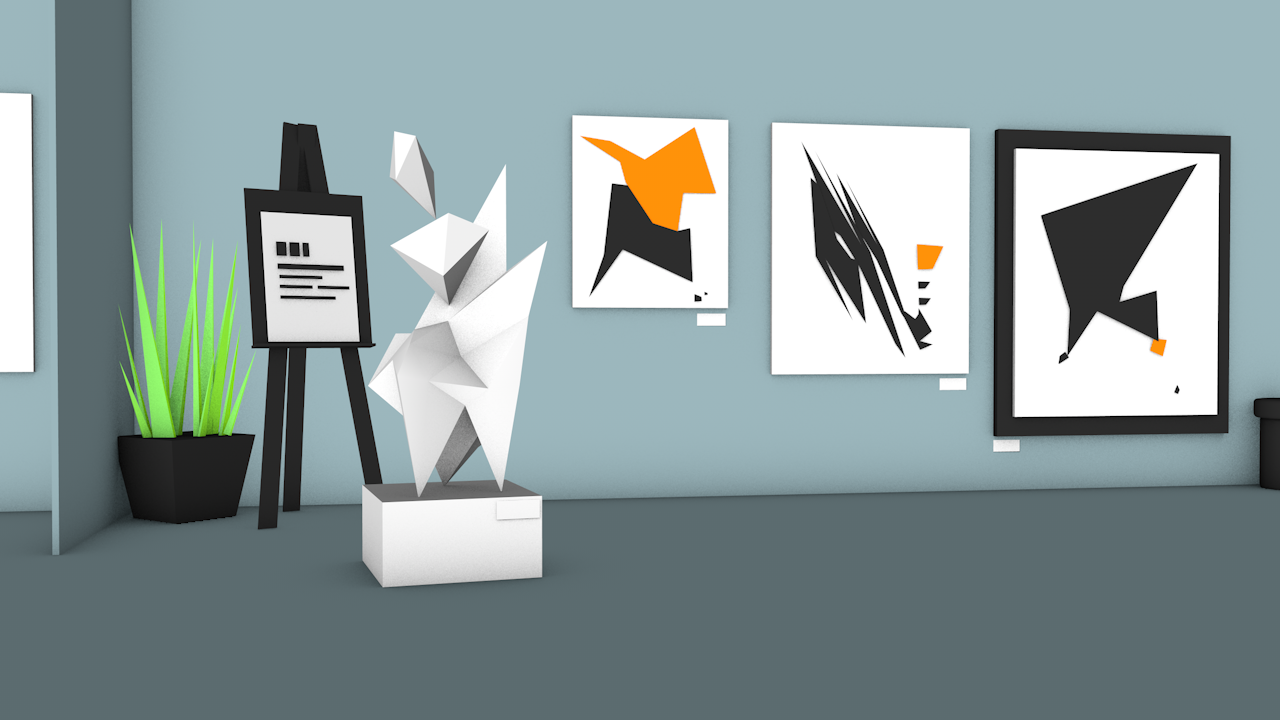
After some basic introduction to Cinema4D and navigation within the app, we could start our very first task - to model a scene of ´Our Favorite Place´. At this point we only had a few primitive objects at our disposal, and 5 colors (of our choice) limited palette only - but that was just enough to give it a try - and at the same time to demonstrate our ´starting point´ we were currently at, for our TAs.
And/or a chance to get used to C4D/3D environment and navigation (for those using C4D for the very first time), before the lessons actually start, next week.
So here´s mine, a simple one.
Surprisingly enough, despite all these limitations - some really great scenes were created by many students in the course, at this ´early´ stage already ..
Not much was happening during the first orientation week - but at least we got our first homework.
After some basic introduction to Cinema4D and navigation within the app, we could start our very first task - to model a scene of ´Our Favorite Place´. At this point we only had a few primitive objects at our disposal, and 5 colors (of our choice) limited palette only - but that was just enough to give it a try - and at the same time to demonstrate our ´starting point´ we were currently at, for our TAs.
And/or a chance to get used to C4D/3D environment and navigation (for those using C4D for the very first time), before the lessons actually start, next week.
So here´s mine, a simple one.
Surprisingly enough, despite all these limitations - some really great scenes were created by many students in the course, at this ´early´ stage already ..
Be Kind, Please Rewind
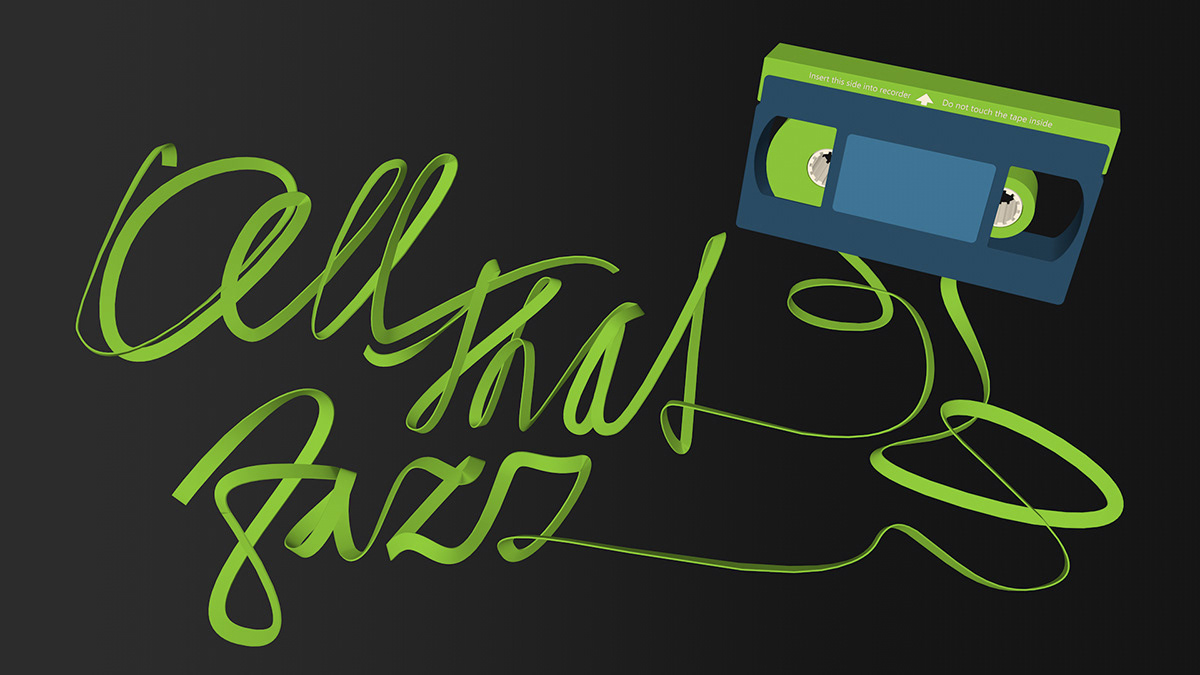
Our first ´real lesson´ was all about splines and a pen tool .. and their options and flexibility when used for some intricate complex shapes - like lettering. So - in this assignment we were supposed to form a word or a sentence of our choice - simulating a ribbon - or a tape, in this case - as we were also tasked to model the cartridge, using primitive shapes only, again.
Our first ´real lesson´ was all about splines and a pen tool .. and their options and flexibility when used for some intricate complex shapes - like lettering. So - in this assignment we were supposed to form a word or a sentence of our choice - simulating a ribbon - or a tape, in this case - as we were also tasked to model the cartridge, using primitive shapes only, again.

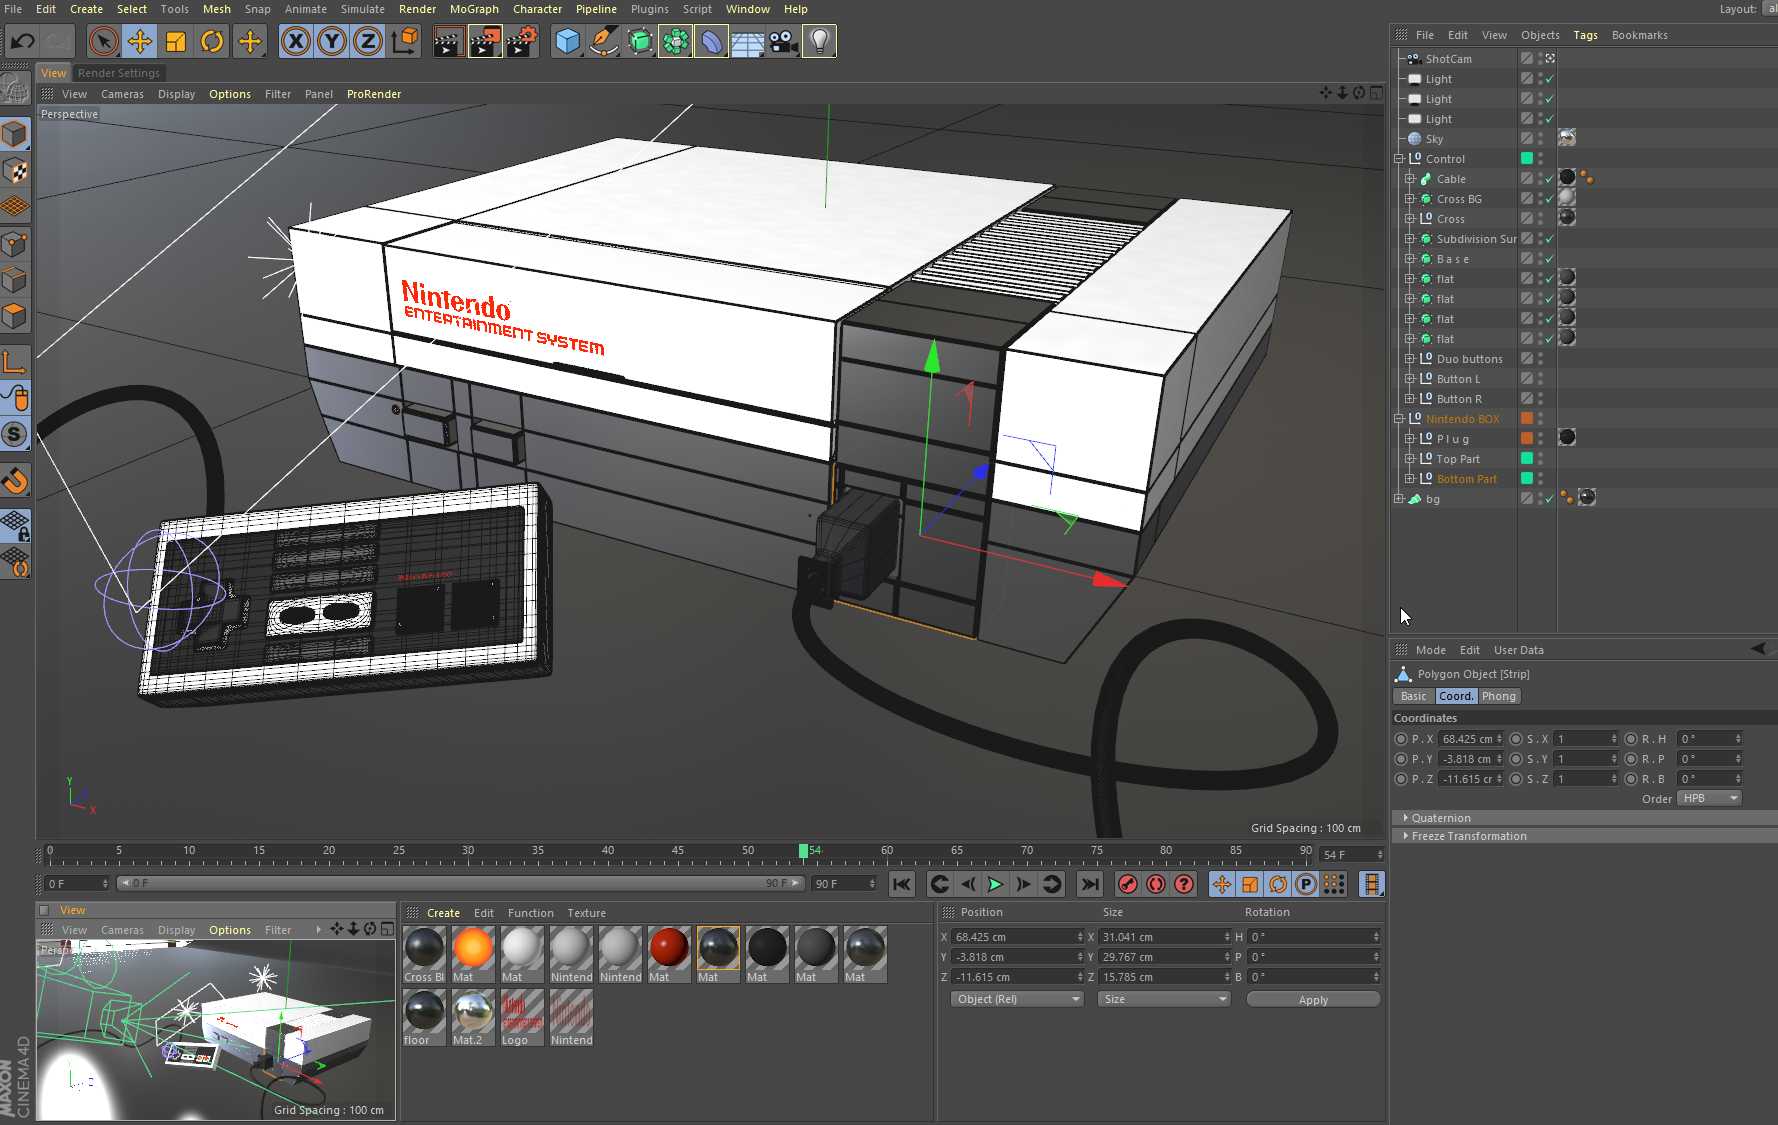
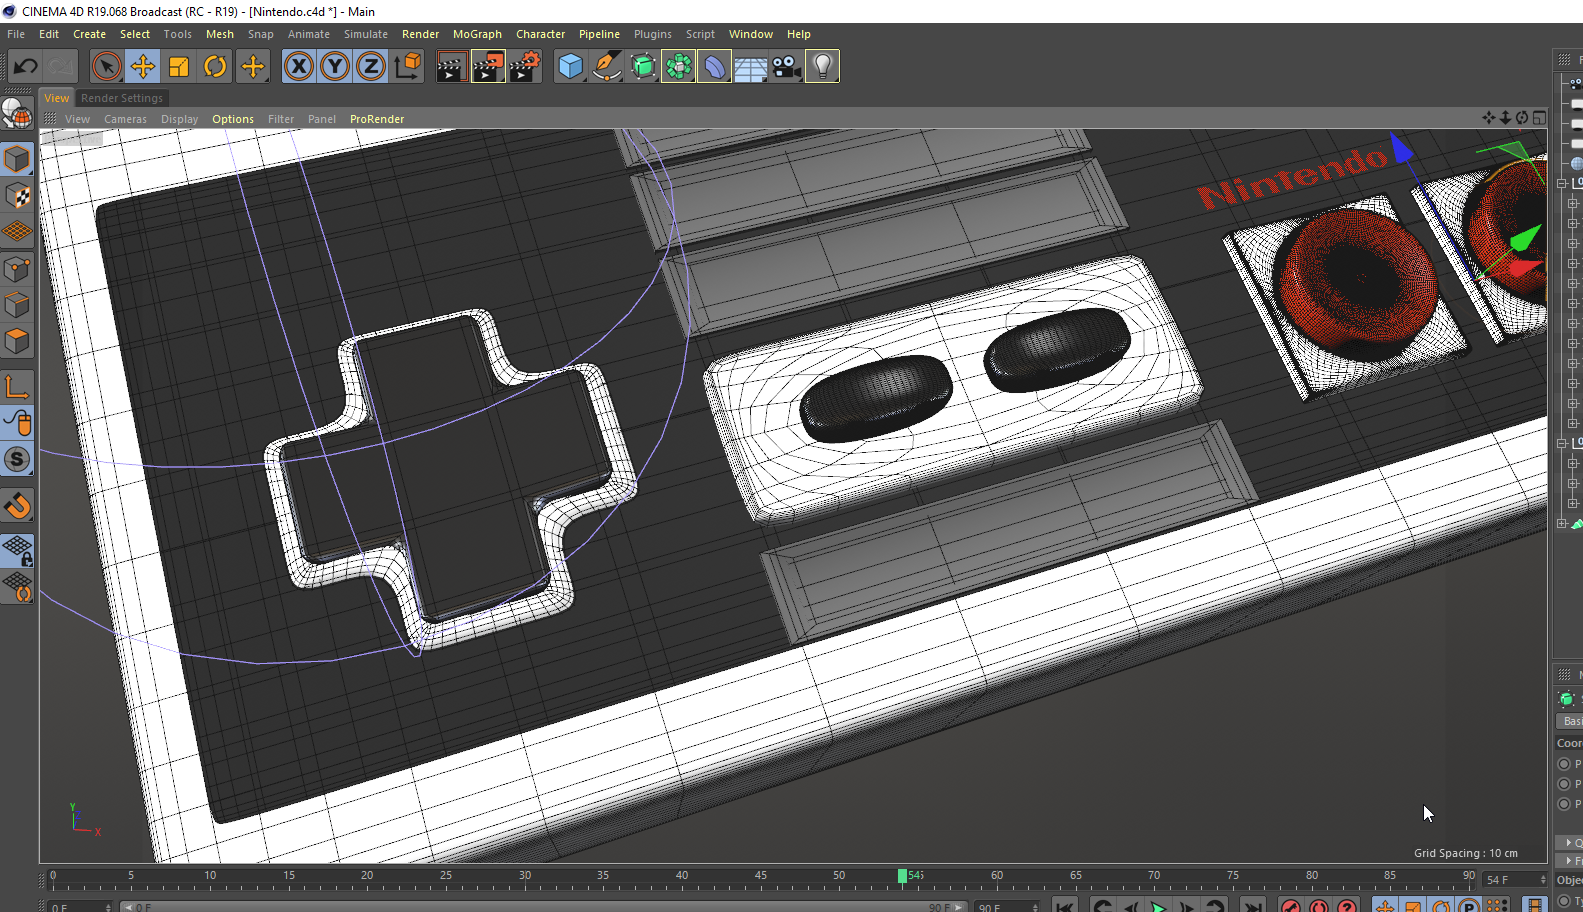
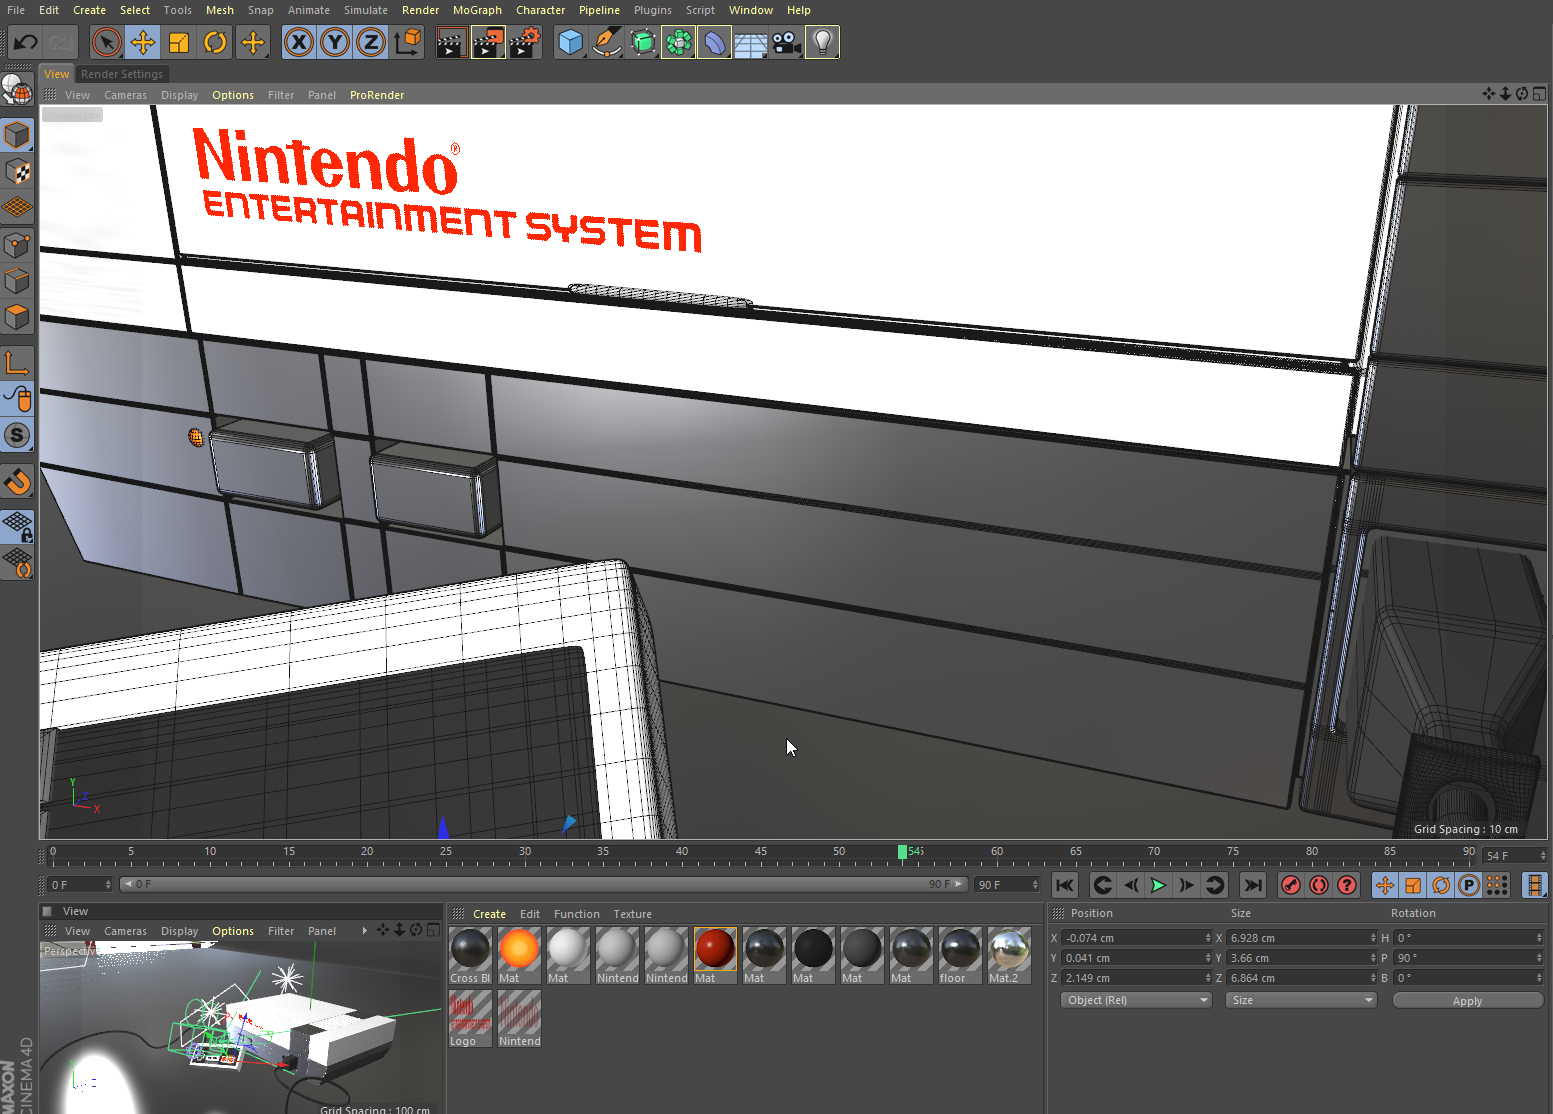
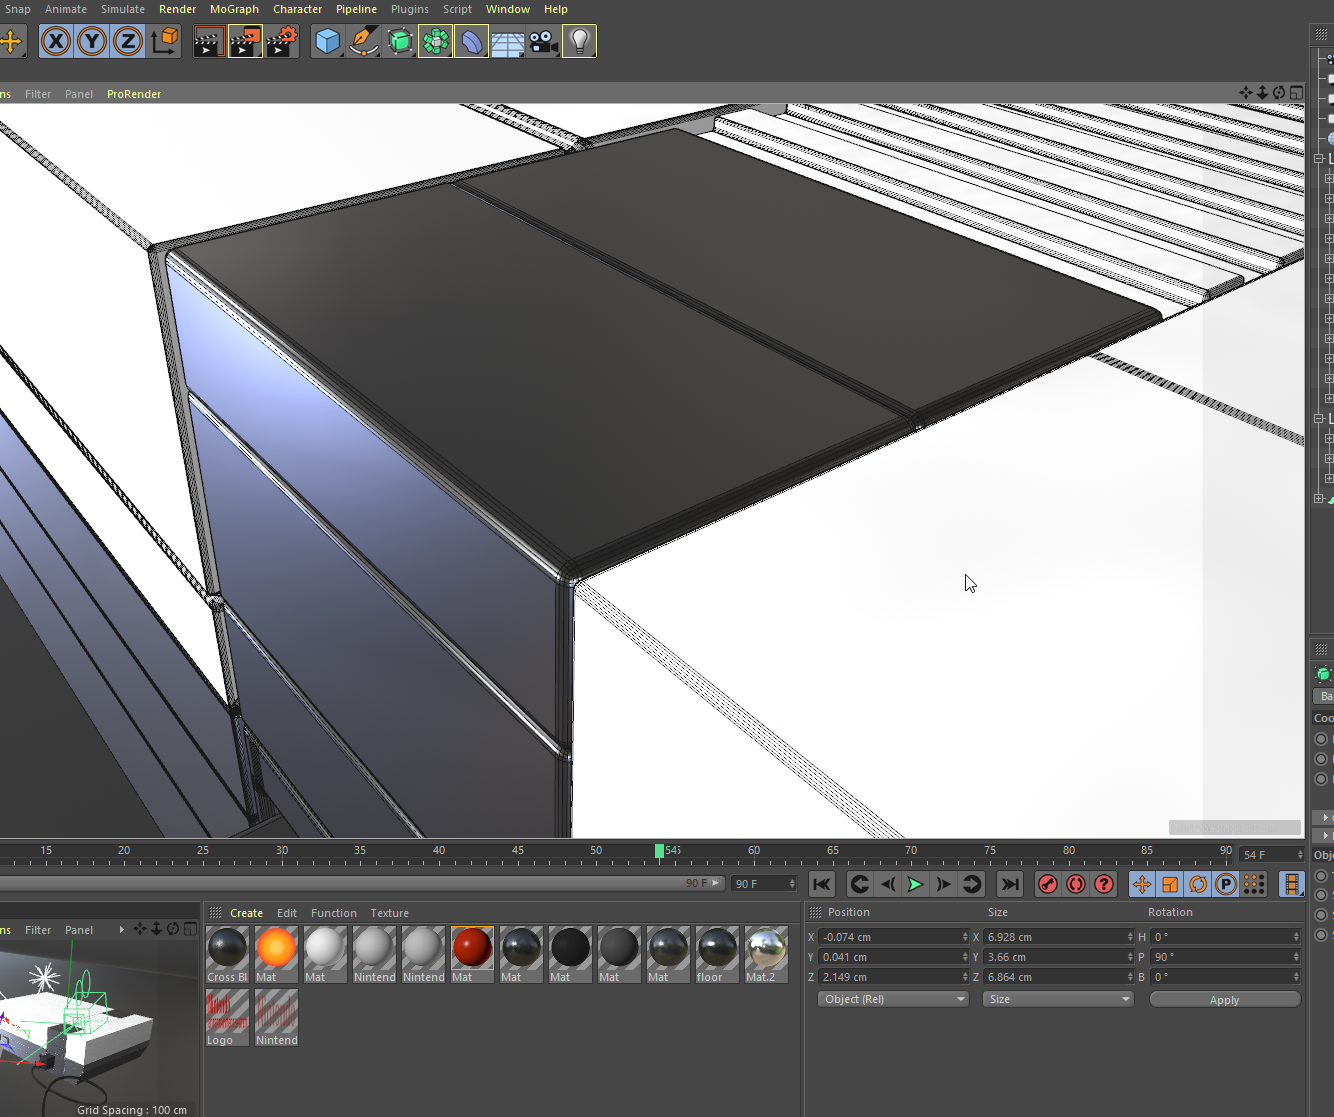
Super Modelling Challenge
Absolutely true, a real challenge.
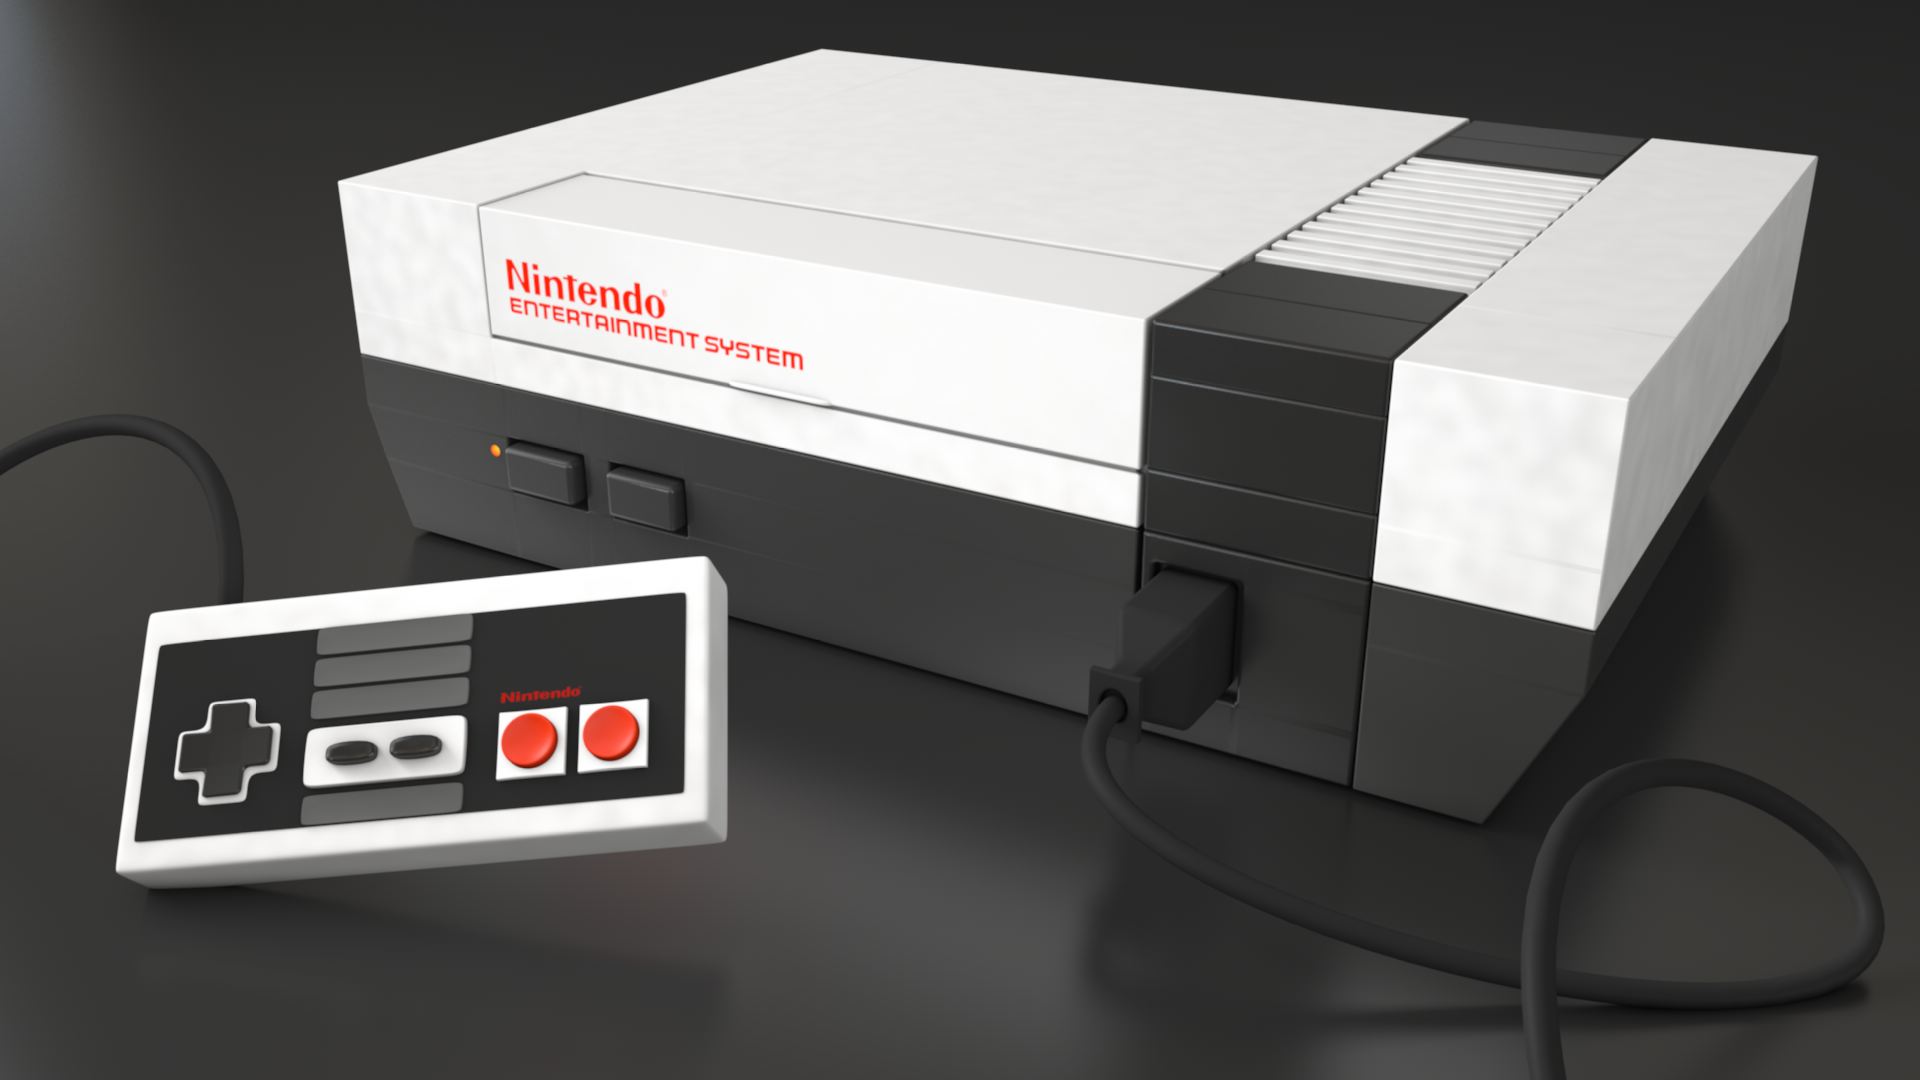
After introduction to a few basic modelling tools and workflows, we were (t)asked to model a Nintendo console – and/or also a cartridge and control, for those brave enough. As modelling is a complex specialization or skillset on its own - the lessons actually only scratched the surface .. (serving more as an introduction / ´initial guide´ to modelling, for our further exploration on our own, in the future, due to the complexity of the topic .. ) .. so, even though (or maybe ´due to´) we only used a few basic modelling tools, this assignment was a really tough one.
I spent a lot of time on this, struggling a bit at some points .. until I managed to figure out how to build the geometry ´properly´ (or at least as best as I could), having to solve (or figure out) many ´unexpected´ modelling little tricky pitfalls arising on the way, here and there .. (that were addressed later on, in a few additional lessons, too .. )
Modelling (as well as whatever other 3D topic) could easily be a full course on its own ..
Absolutely true, a real challenge.
After introduction to a few basic modelling tools and workflows, we were (t)asked to model a Nintendo console – and/or also a cartridge and control, for those brave enough. As modelling is a complex specialization or skillset on its own - the lessons actually only scratched the surface .. (serving more as an introduction / ´initial guide´ to modelling, for our further exploration on our own, in the future, due to the complexity of the topic .. ) .. so, even though (or maybe ´due to´) we only used a few basic modelling tools, this assignment was a really tough one.
I spent a lot of time on this, struggling a bit at some points .. until I managed to figure out how to build the geometry ´properly´ (or at least as best as I could), having to solve (or figure out) many ´unexpected´ modelling little tricky pitfalls arising on the way, here and there .. (that were addressed later on, in a few additional lessons, too .. )
Modelling (as well as whatever other 3D topic) could easily be a full course on its own ..
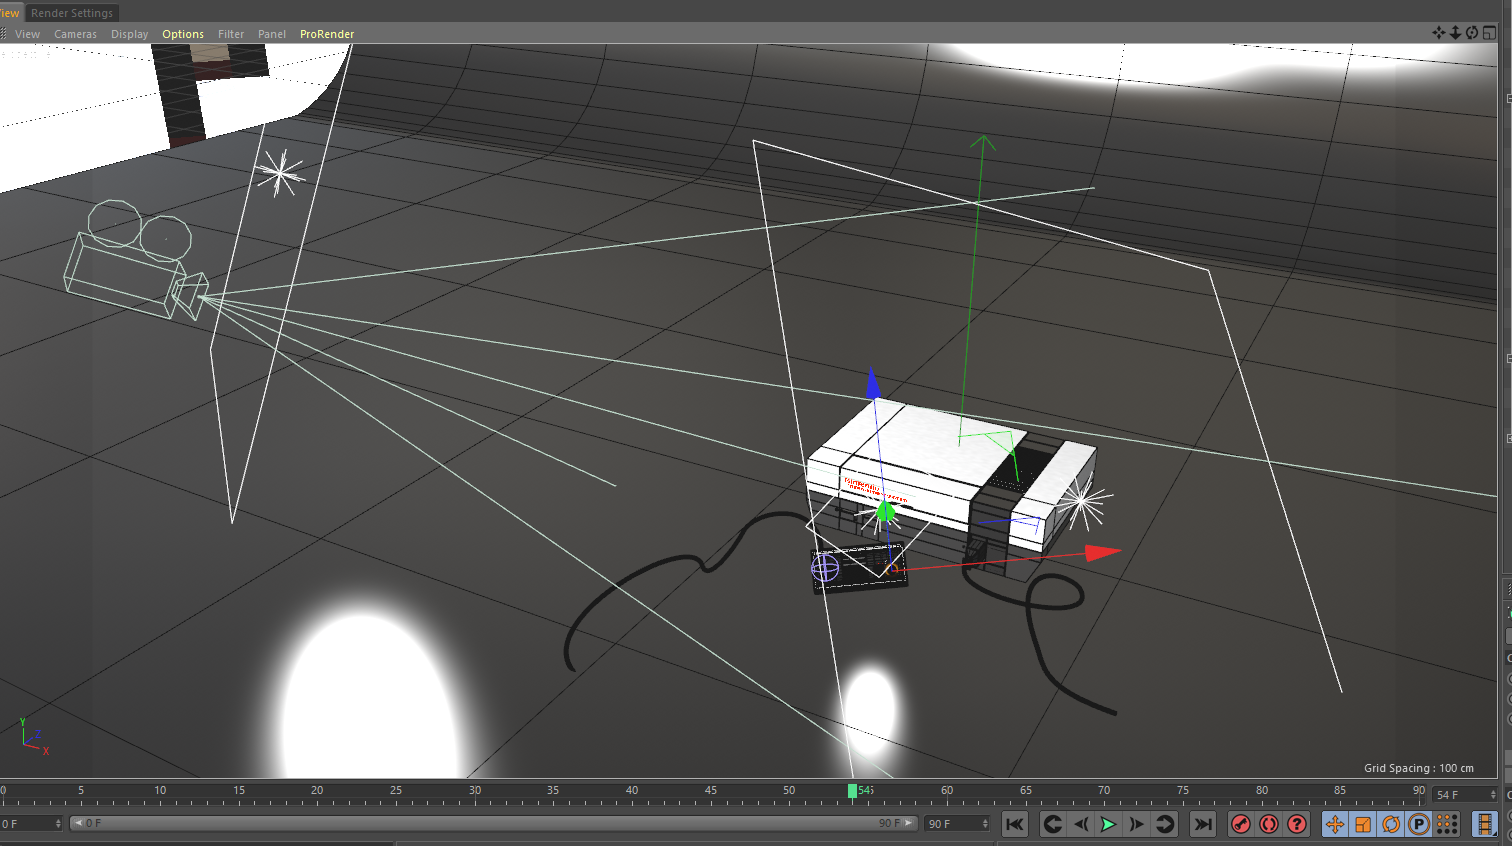
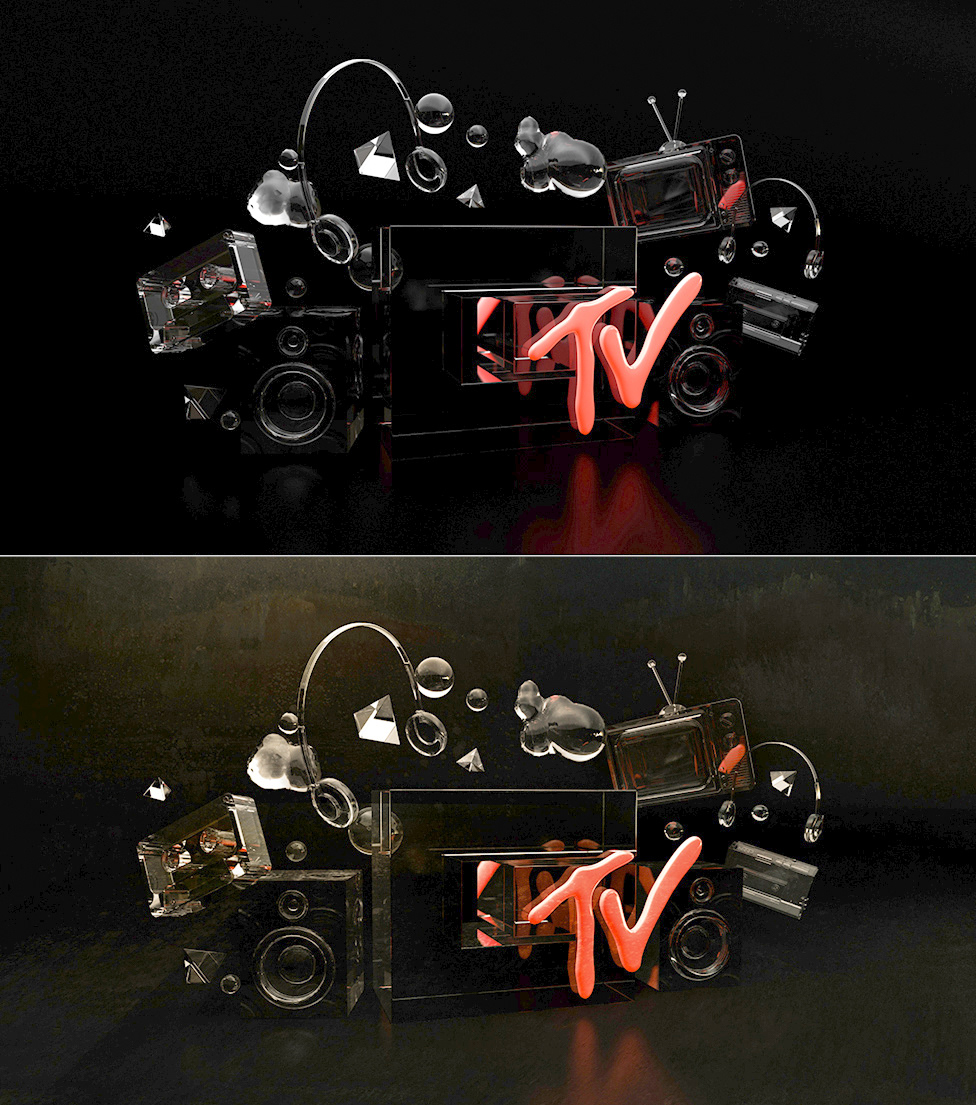
Light it Up
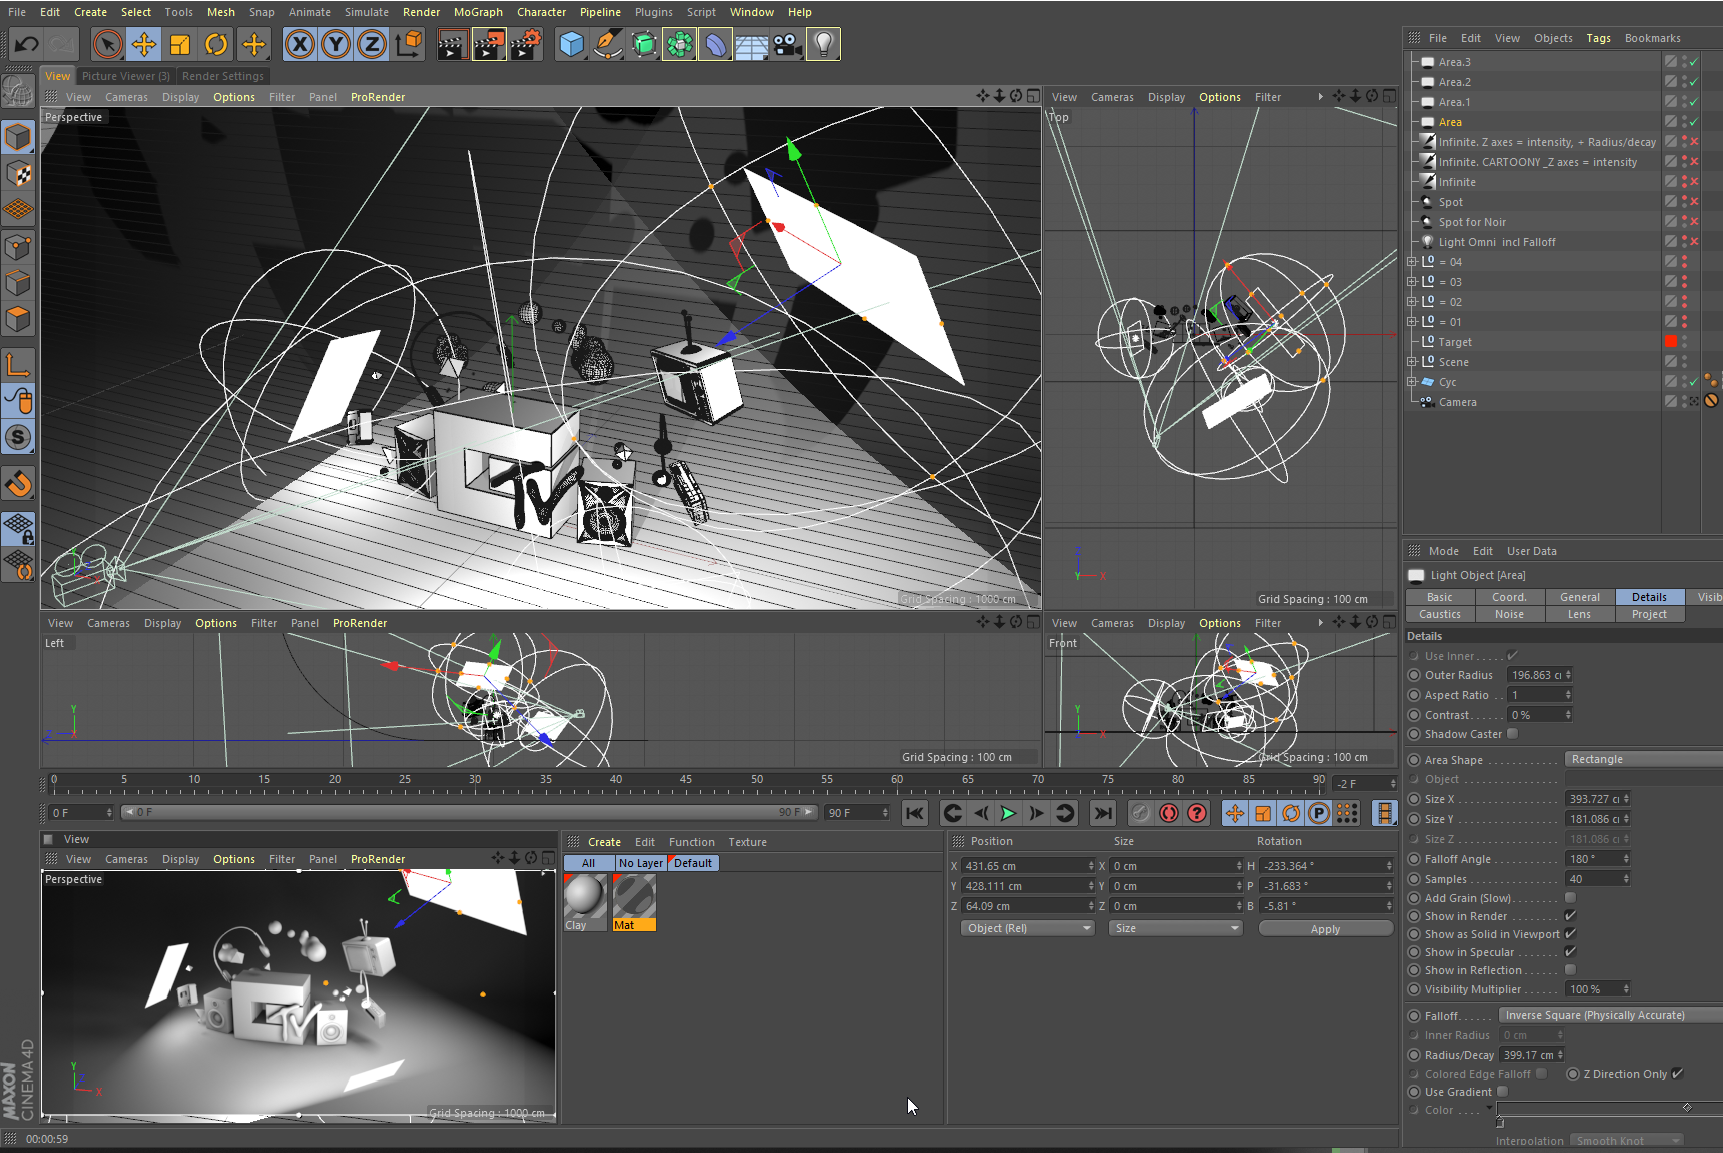
A lesson on lighting.
Two amazing hours of explanation how lighting - and lights - in C4D work, with EJ´s real time demonstration.
Definitely one of my favourite lessons.
So - in this assignment, we were provided with basic models/scene (just basic geometry - no color / no textures) and were asked to ´tell the story with light´ - by utilizing different light setups for achieving different atmosphere, look & feel .. Just by using lights.
´Morning show´ or ´Film Noir´ were just two examples of possible scenes we were ask to create here ..

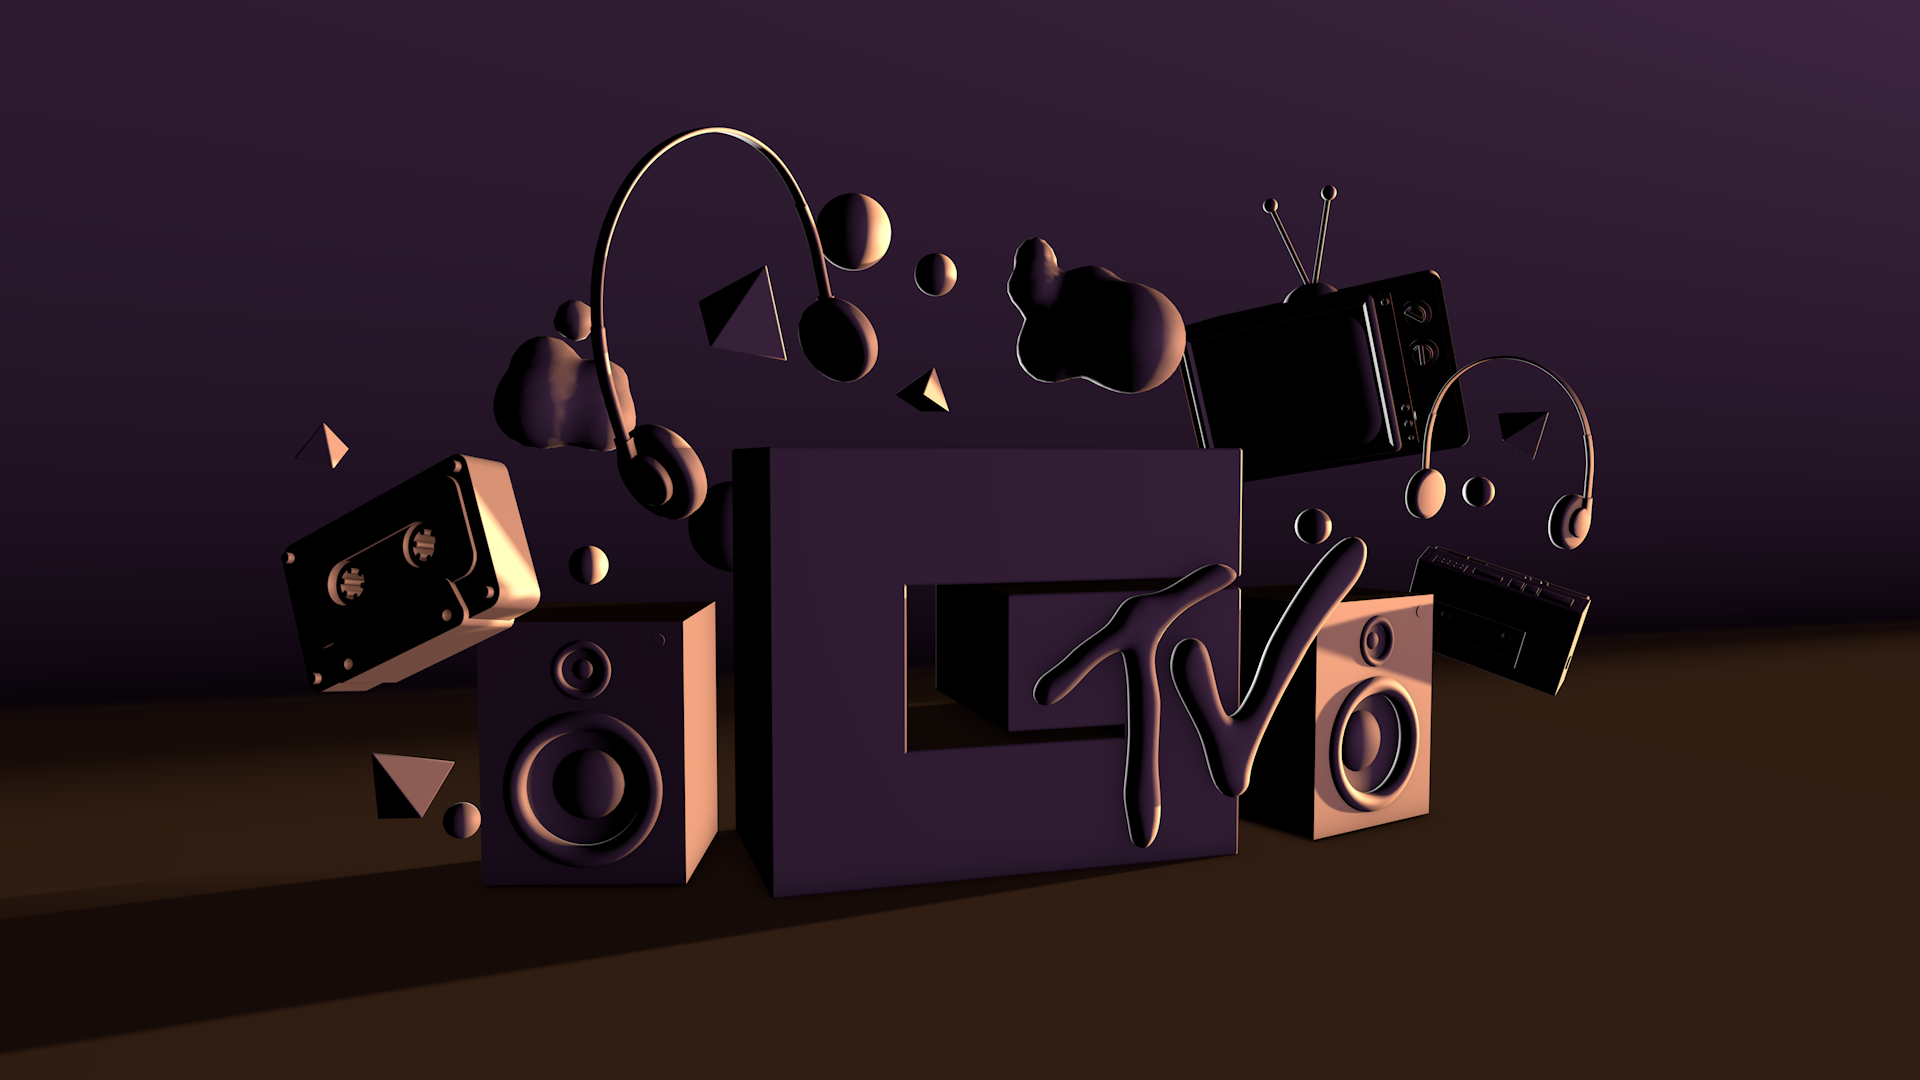


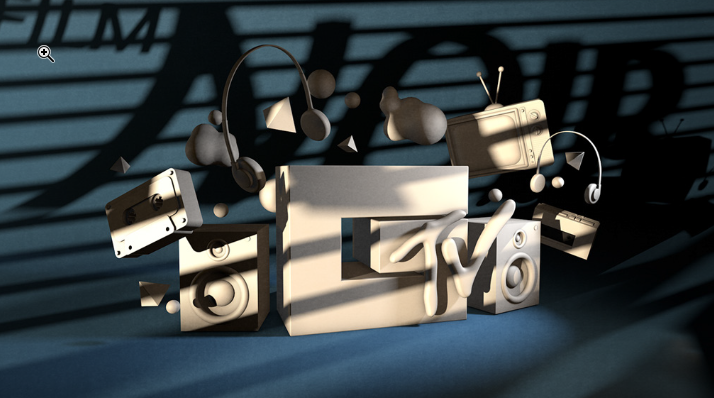
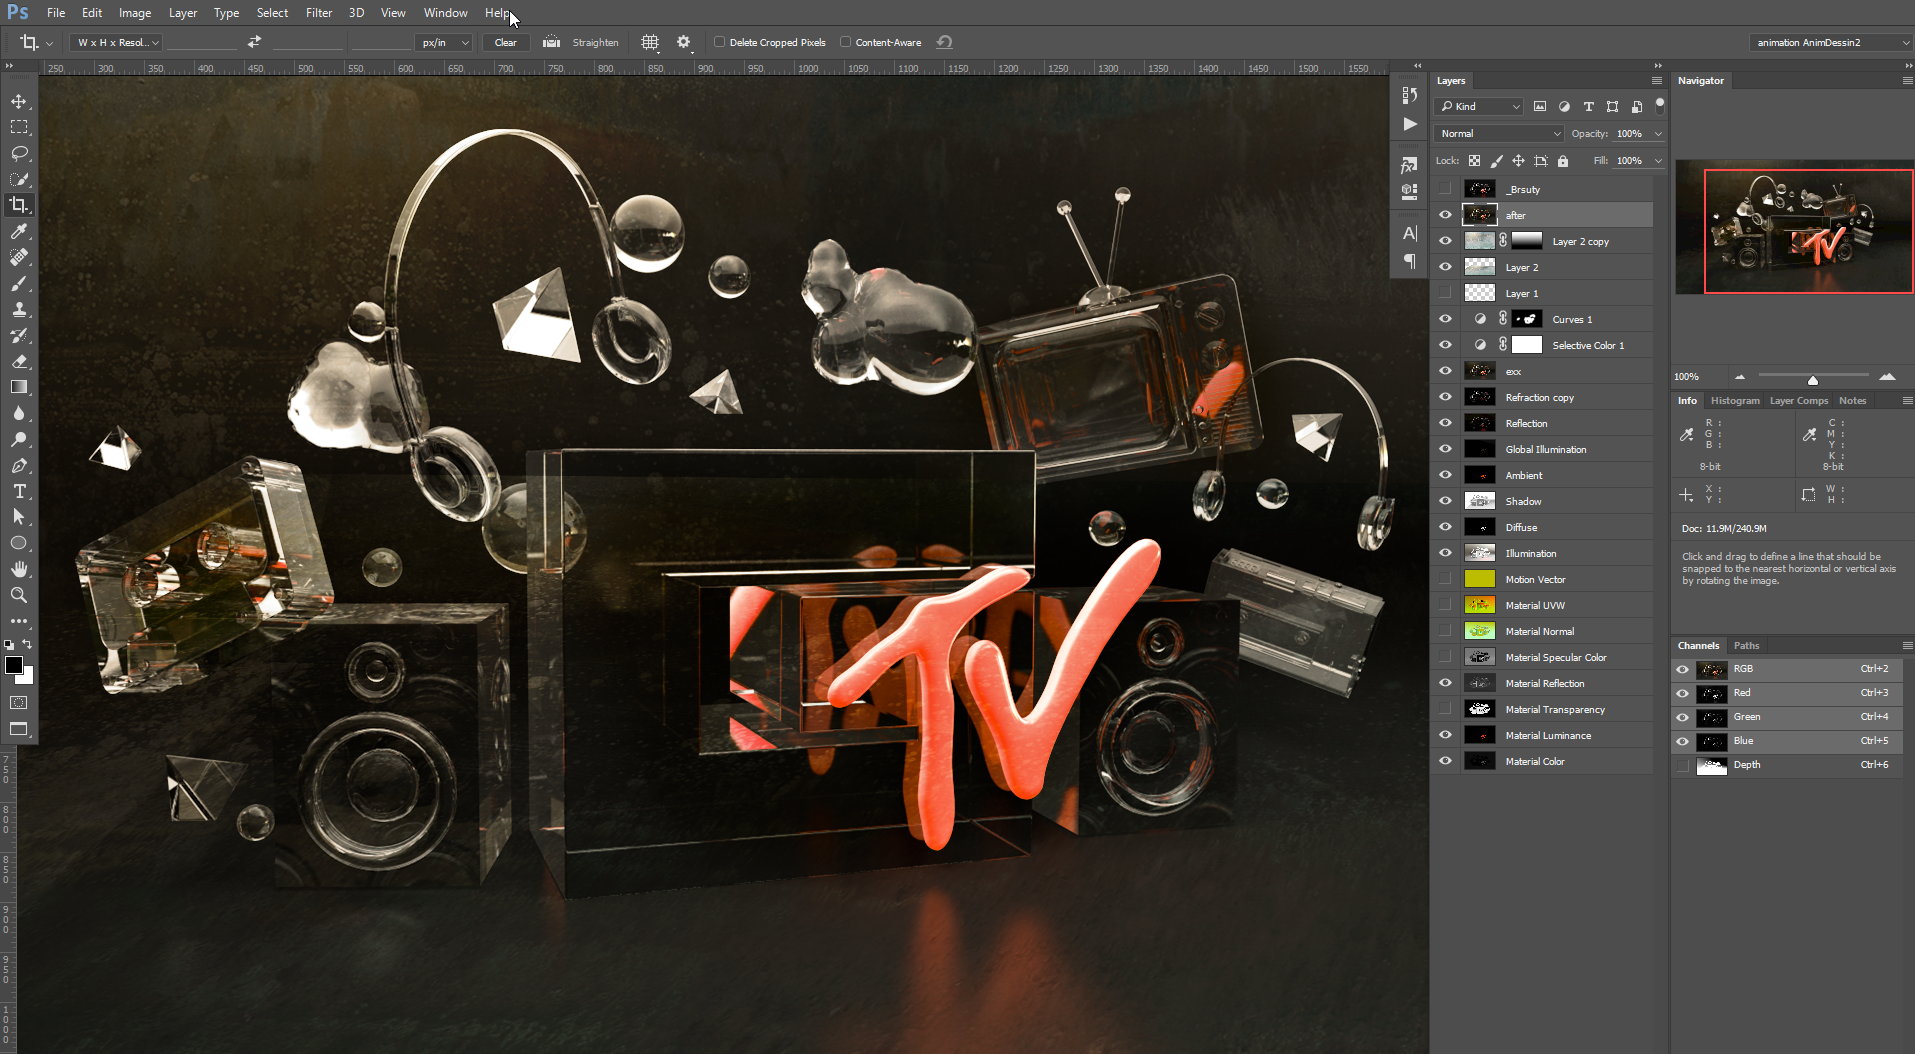
.. felt almost just like in a real photo studio :)
.. and together with adding a color - now we could relax a bit, for a while - while creating another version .. of a fully colored and lit scene this time, during our Catch Up week ..

I just couldn´t resist trying out one more version of this ..
With a bit of a help of Photoshop post-work (not part of the course) - here´s what I ended up with ..
With a bit of a help of Photoshop post-work (not part of the course) - here´s what I ended up with ..

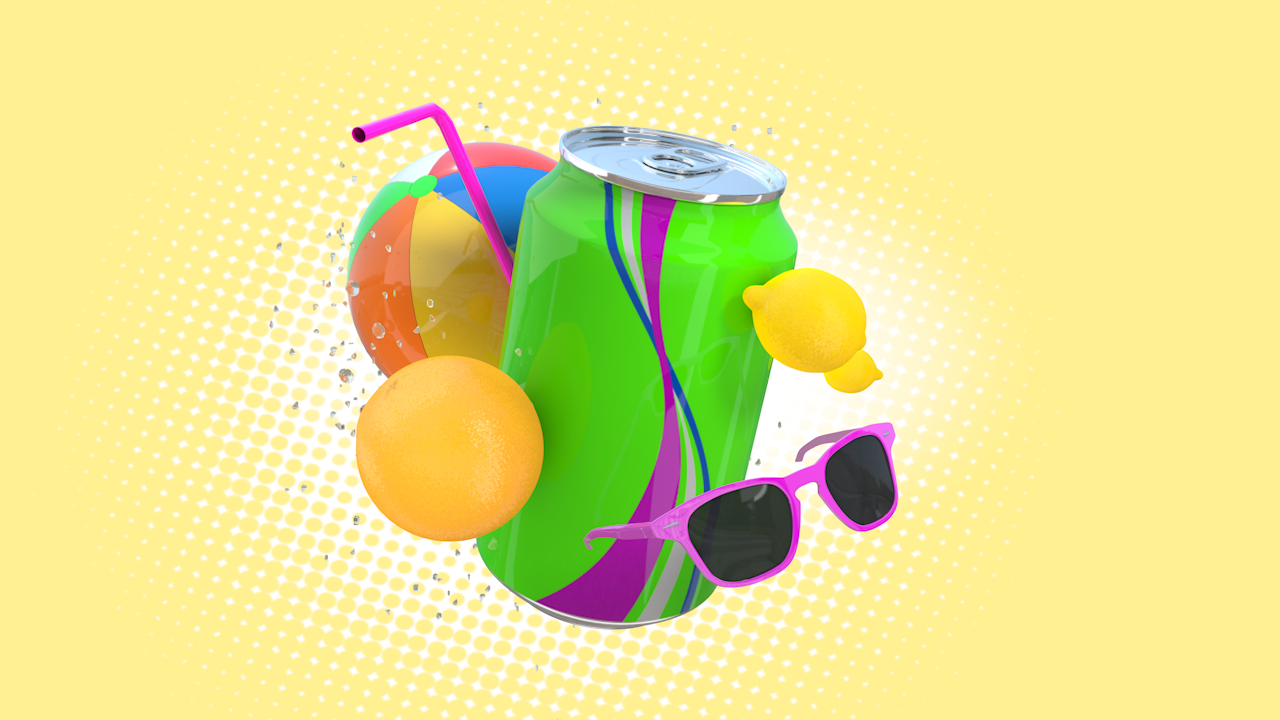
Make it Shiny
So now, when we already knew how to use lights and color, it was time to also add even more to the mix: reflective surfaces, utilizing HDR images in combination with a few other ´photographic´ techniques for a bit more realistic results ..
and shiny happy look ..
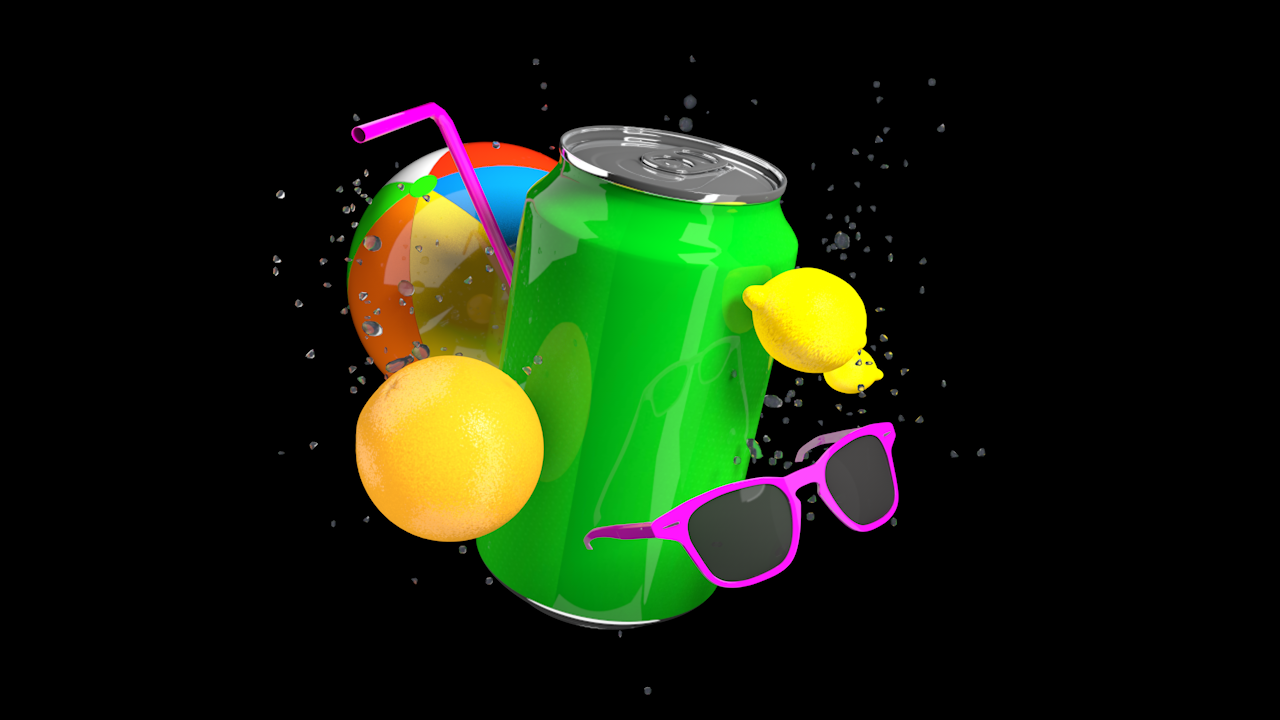
For a product shot.
My take(s) on this.
(Raw untextured models - again - provided by SoM/EJ)
So now, when we already knew how to use lights and color, it was time to also add even more to the mix: reflective surfaces, utilizing HDR images in combination with a few other ´photographic´ techniques for a bit more realistic results ..
and shiny happy look ..
For a product shot.
My take(s) on this.
(Raw untextured models - again - provided by SoM/EJ)
It´s a Trap
Moving on .. to ´making things move´, finally
Here, we were provided with all the assets / the entire (still, no textures) scene, again - and - our task was to make it ´pretty´ (using newly learnt texturing / lighting techniques) - and then - to animate the scene (with our own art direction / story of those two little guys, QBert and Sam) - so as the characters (and props) interact with each other, in some way.
My experience from (previously taken) Animation Bootcamp came in pretty handy here, as all those animation principles and graph tweaking techniques translate nicely to C4D timeline, as well.
Up in the Air
Learning how to make an object follow a spline.
We were provided with basic scene elements - but - were asked to finish the scene on our own - by designing our own path and loops. For this type of animation - exact spacial placement and speed control - especially in the loops, as if it was real - was the main goal here ..
I also decided to (re)define my own color palette/textures/materials and lighting a bit, for this one.
We Build This City & Hustle And Bustle lessons ..
Introduction to Mograph (Madness) ..
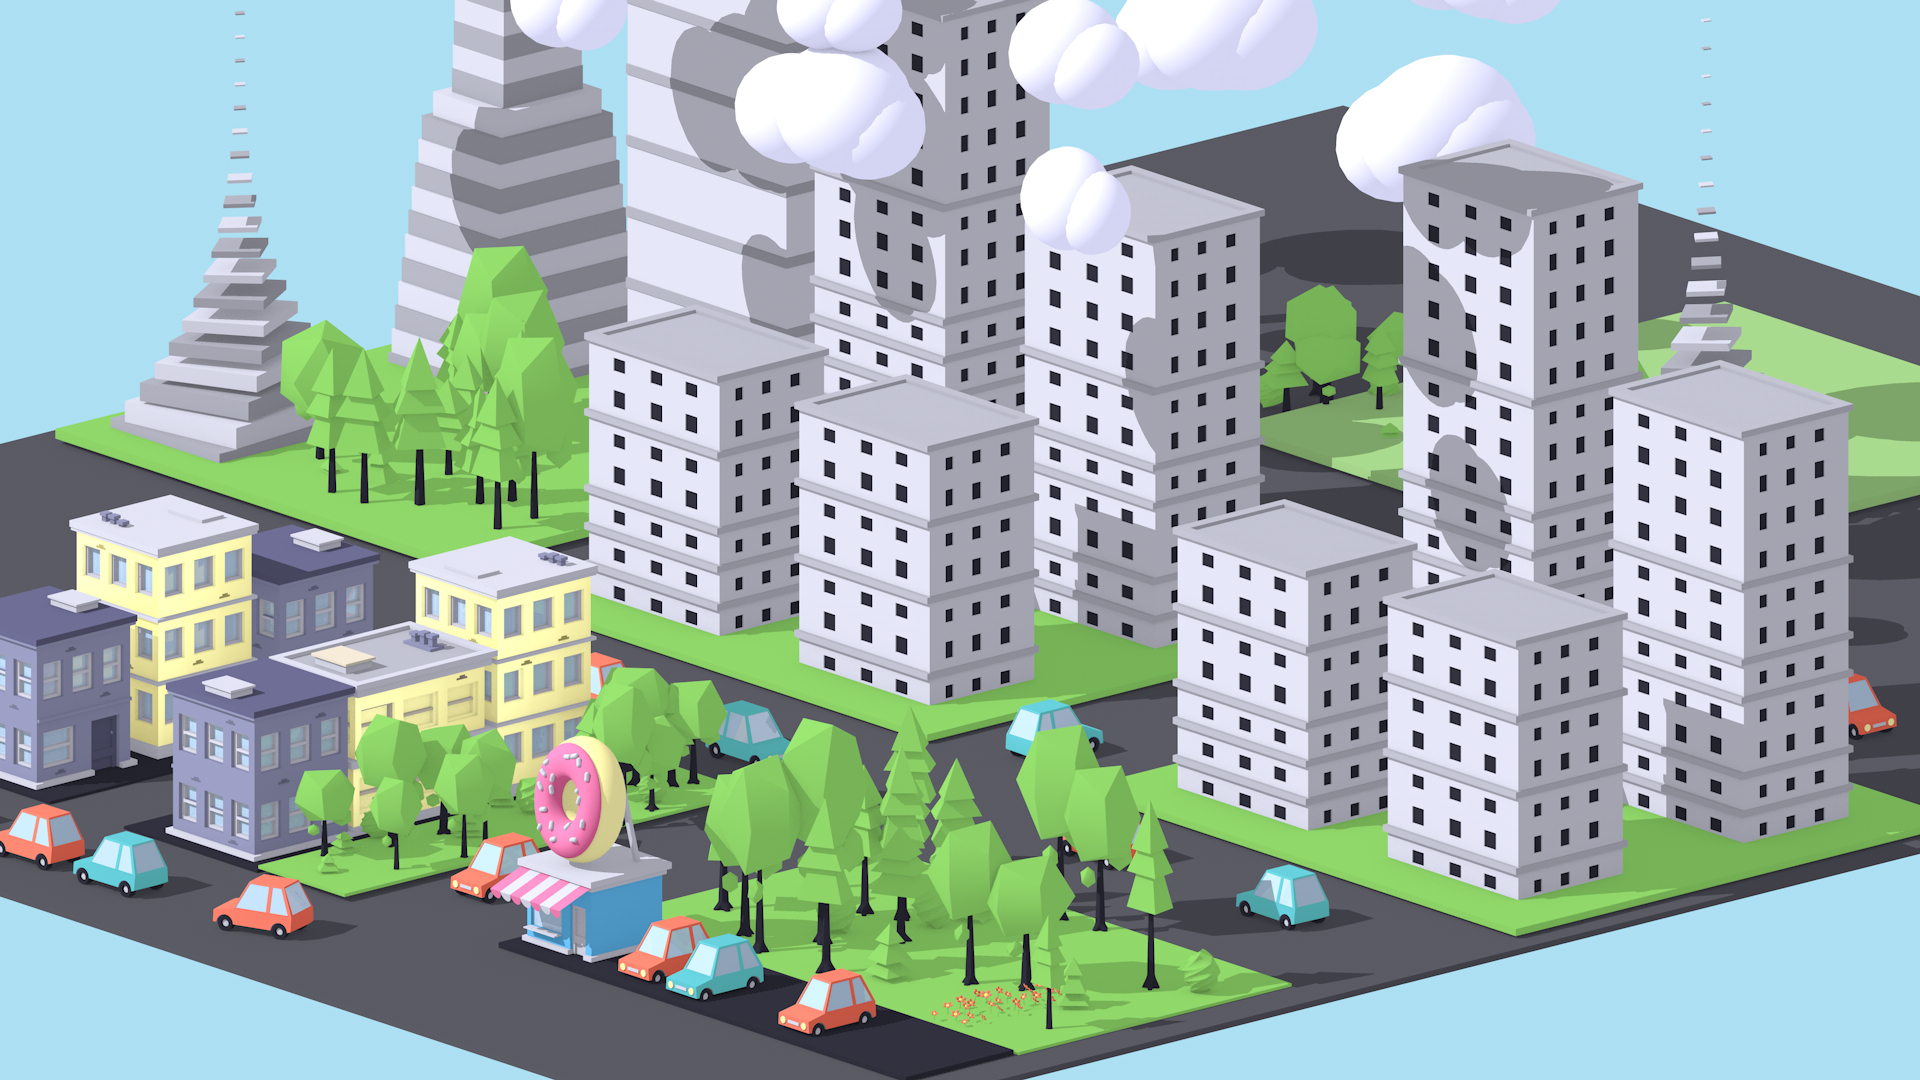
In the first part EJ showed us how we can build the whole city (still scene) with just a few ´building blocks´, using Mograph tools (Cloners, etc.), and then - in the next one - he demonstrated, step by step, how to animate it.
This lesson was great, as it showed us the way how to animate such a complex scene with just a few keyframes, utilizing the incredible ´Mograph power´ ..
Still trying to absorb all of this (actually only the very basics were touched in the course, but still allowing for great flexibility already) .. as Mograph tools in its complexity could also be an entire course on its own ..
Some elements (old houses, cars, donut shop) provided by SoM, the rest is my own modelling ..
Introduction to Mograph (Madness) ..
In the first part EJ showed us how we can build the whole city (still scene) with just a few ´building blocks´, using Mograph tools (Cloners, etc.), and then - in the next one - he demonstrated, step by step, how to animate it.
This lesson was great, as it showed us the way how to animate such a complex scene with just a few keyframes, utilizing the incredible ´Mograph power´ ..
Still trying to absorb all of this (actually only the very basics were touched in the course, but still allowing for great flexibility already) .. as Mograph tools in its complexity could also be an entire course on its own ..
Some elements (old houses, cars, donut shop) provided by SoM, the rest is my own modelling ..
Your Inner Spielberg
Cameras now. In other words - utilizing a cinematic approach to a C4D scene.
Types of camera movements (and basic settings), depth of field, etc.
And for this particular assignment also syncing with music (for those who wanted to). I did. (Or at least, tried to).
The basic scene elements and audio - again - provided by SoM.
Rock´Em Sock´Em ..
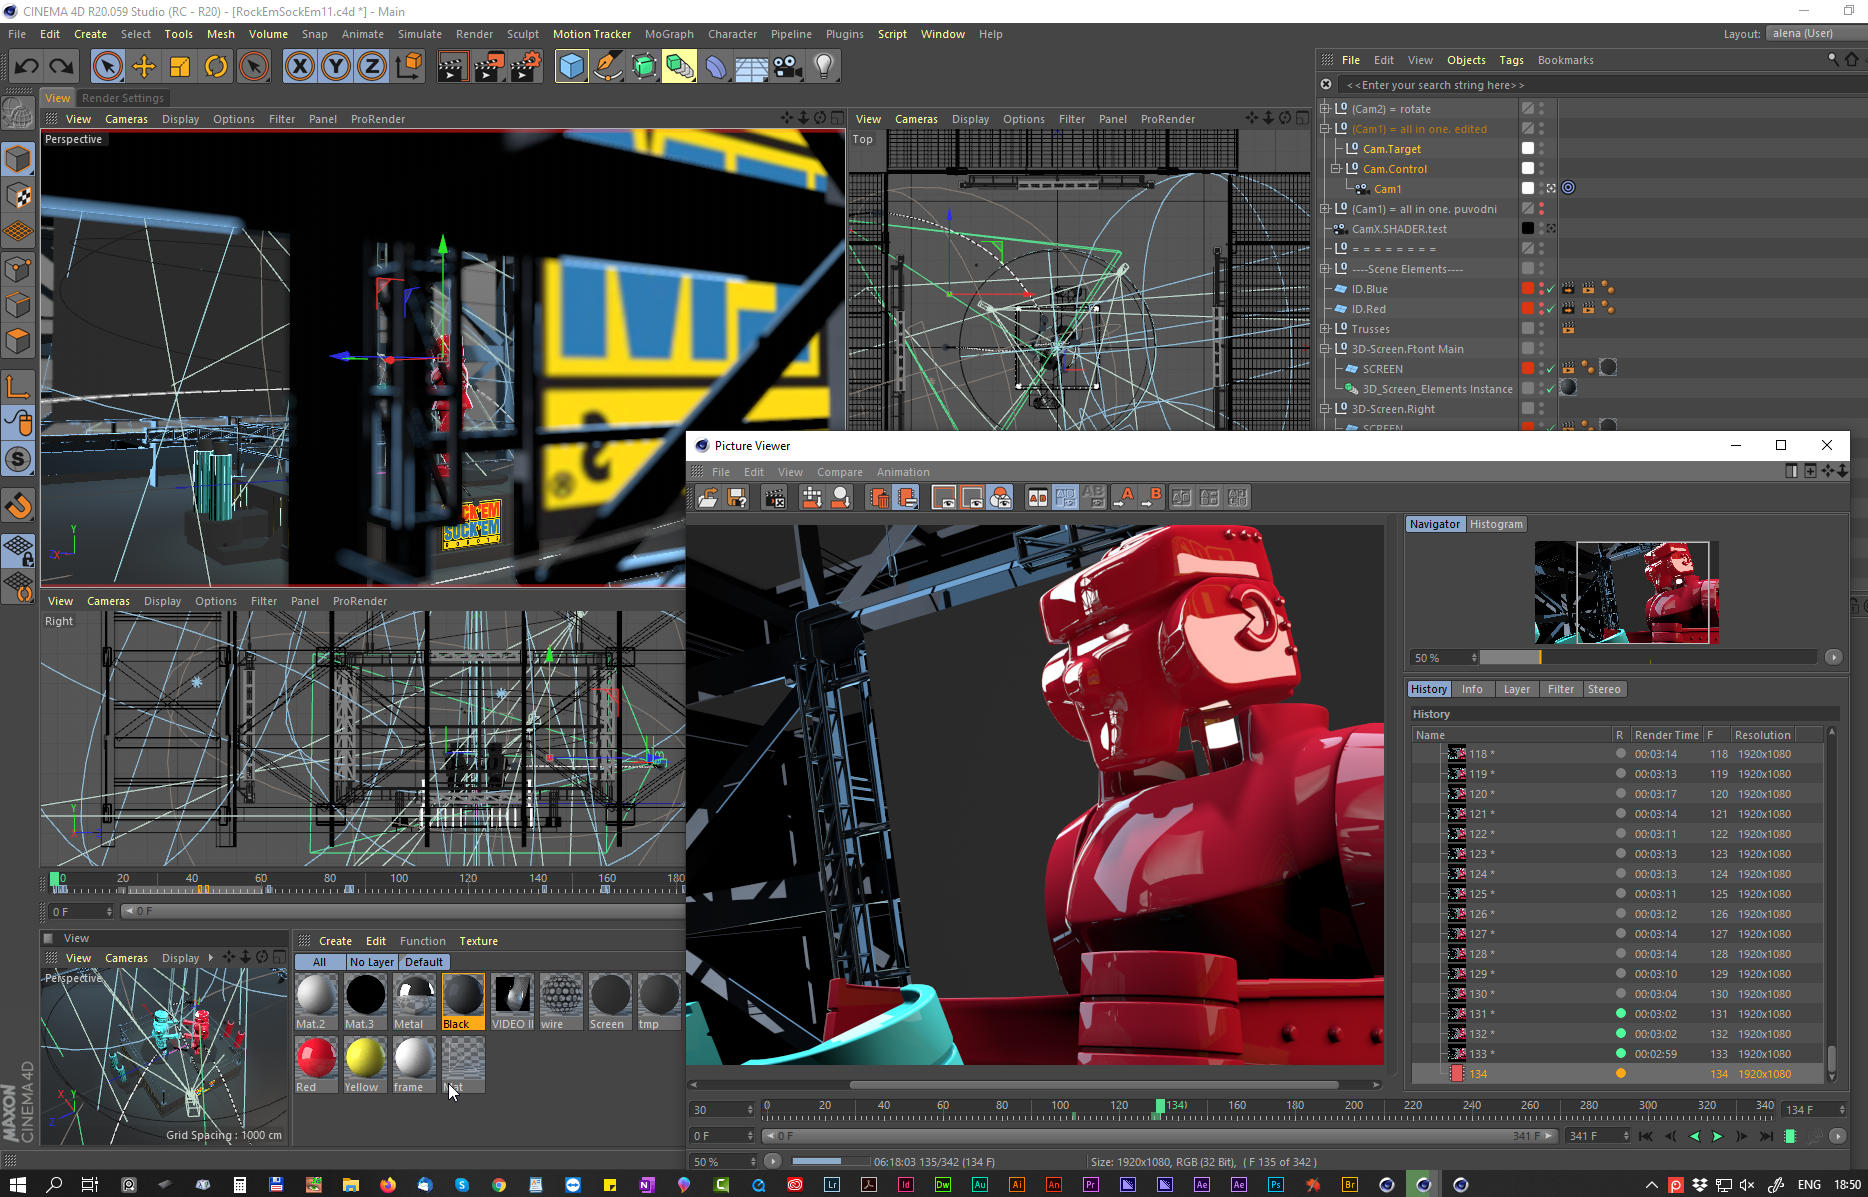
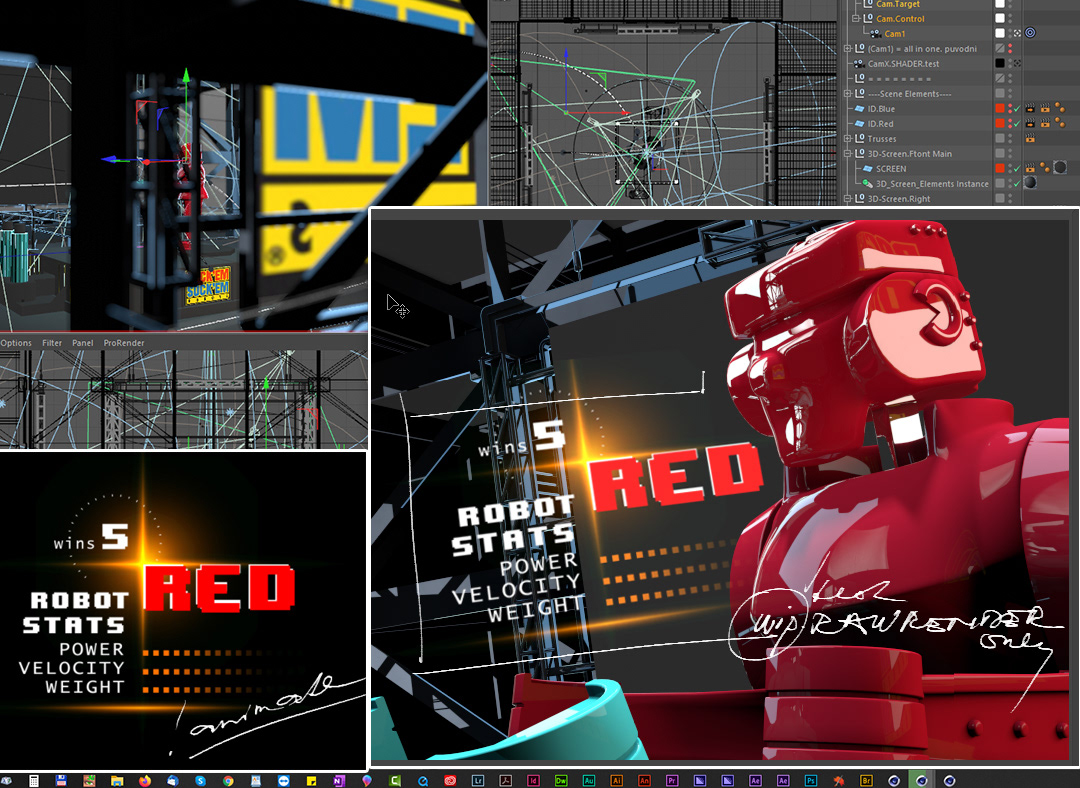
Introduction to a few more advanced concepts - multi-pass rendering & compositing, some more options for camera rigs, a few more nice little compositing tricks for the camera, C4D / After Effects integration, briefly ..
etc.
I couldn't actually finish this one - as I ran out of time at the end of the year (and decided to rather use the rest of the remaining time for the last / Final Project ..)
Just adding this one here so as the list is complete ..
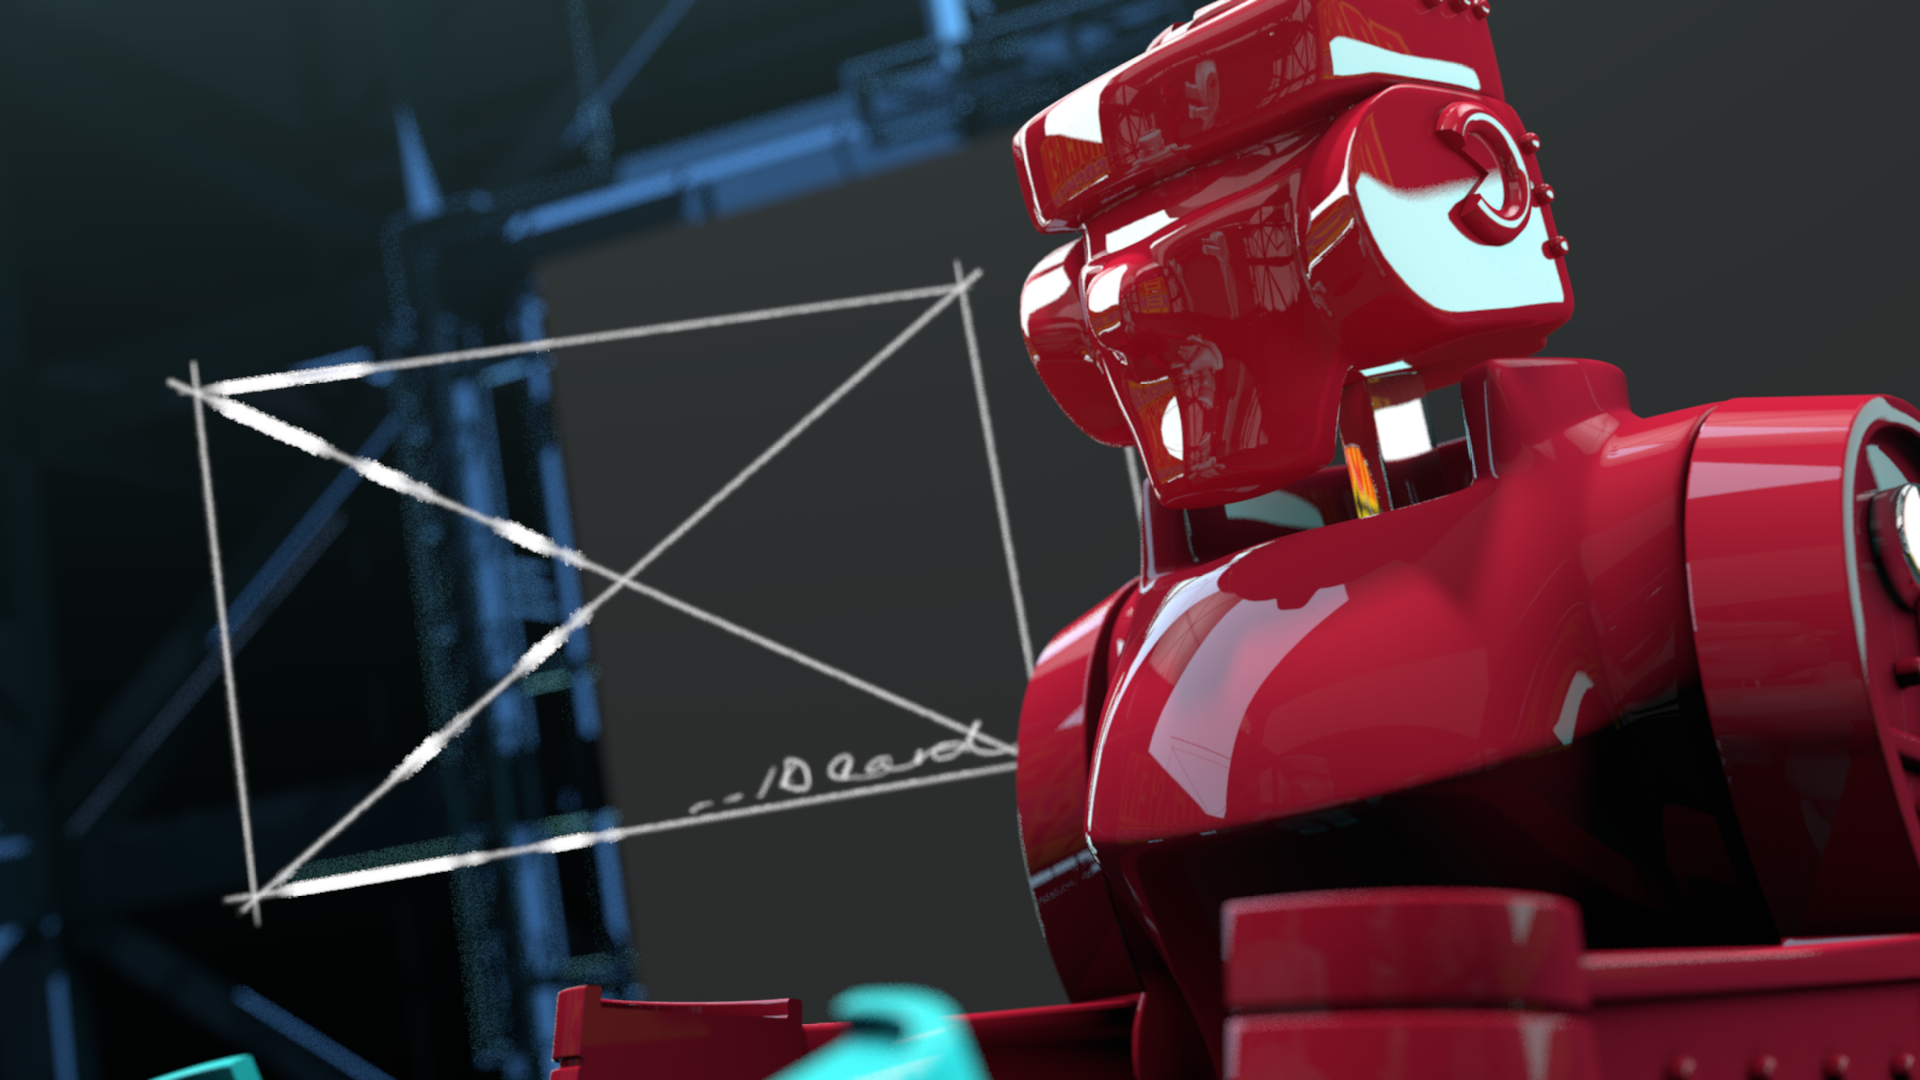
This assignment actually had two parts: setting up /locking down the camera / animation (controlled movements within the scene, from one player to the other one, etc.) first, and then - finalizing / compositing stage, in combination with After Effects, utilizing 3D data brought over into AE, etc.
As this scene - with a camera moving all around (capturing the entire scene, even some screen projections within the scene, lots of depth of field, etc.) - was pretty render-heavy - even though I did not manage to finish it, (only stopped barely in the half way) - it still took me (and my computer) a lot of time ..
Not sure I´ll ever get back to it, to finish it - but - at least for now -
this is what I ended up with ..
(the entire scene / models with basic color definition provided by SoM)
etc.
I couldn't actually finish this one - as I ran out of time at the end of the year (and decided to rather use the rest of the remaining time for the last / Final Project ..)
Just adding this one here so as the list is complete ..
This assignment actually had two parts: setting up /locking down the camera / animation (controlled movements within the scene, from one player to the other one, etc.) first, and then - finalizing / compositing stage, in combination with After Effects, utilizing 3D data brought over into AE, etc.
As this scene - with a camera moving all around (capturing the entire scene, even some screen projections within the scene, lots of depth of field, etc.) - was pretty render-heavy - even though I did not manage to finish it, (only stopped barely in the half way) - it still took me (and my computer) a lot of time ..
Not sure I´ll ever get back to it, to finish it - but - at least for now -
this is what I ended up with ..
(the entire scene / models with basic color definition provided by SoM)

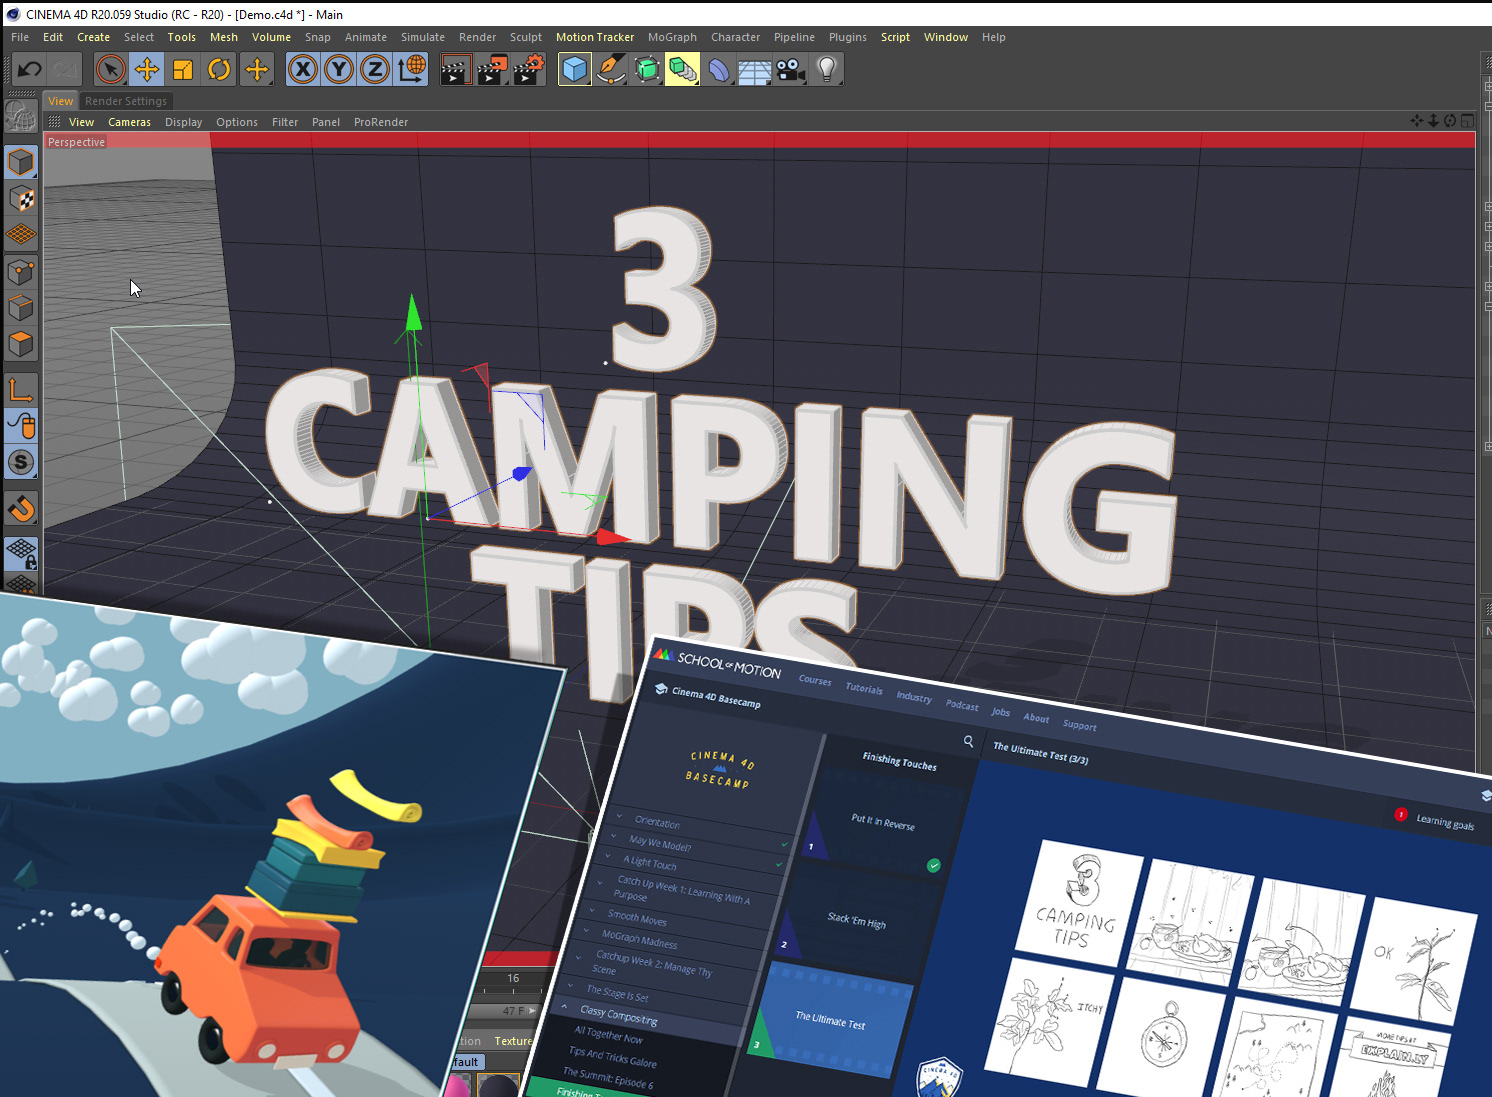
The Ultimate Test .. / final project, finally.
Unlike with other assignments (with assets provided by SoM) - in this final one we were tasked to design & build the entire project from scratch, from start to finish.
All we got in a brief was just a simple storyboard - and a voiceover ..
So - our task here was to put into practice everything we´ve learnt in the course -
from modelling, texturing, lighting .. to camera work and animation.
And a bit of own art direction, too.
Loved the freedom in this one ..
So .. here´s the final project, my version.
For the Final project - I put together some more info - incl. Making-of
in a separate Behance project, here >>
in a separate Behance project, here >>